Total Pageviews

Friday, January 27, 2012

Rigging Exercise Part 2

Continuing on the rigging exercise video tutorials, I have finally done my rig of the female body.

First thing is the reverse foot lock.


Following the powerpoint slides, I was able to do this reverse foot lock.

1 thing I learned through this was an error that halted my progress. I could not pole vector the ikHandle of the leg with the sphere that was the control for the knee. Apparently, the video did not point out that the leg ikHandle had to an RPsolver, not SC. With an RP (Rotation Plane), I could pole vector the two items. Other than that, creating joints and ikHandles are quite easy.

Next is my rig and a few other poses.


Finally, after all the video tutorials, I have completed my rig.

I will say I have quite a number of things. Checking the rotation axis on each joint and snapping the center pivot to the specific joints so that when moved, we can click on the joint itself instead of it's default 0,0 value. Adding attributes and setting keys are new things I learned as well because it can limit how much one's finger should move. I could set the maximum and minimum range for the fingers if I so please. Another thing I learned is that naming components and grouping them properly is very important. 1 small mistake could lead to disaster.

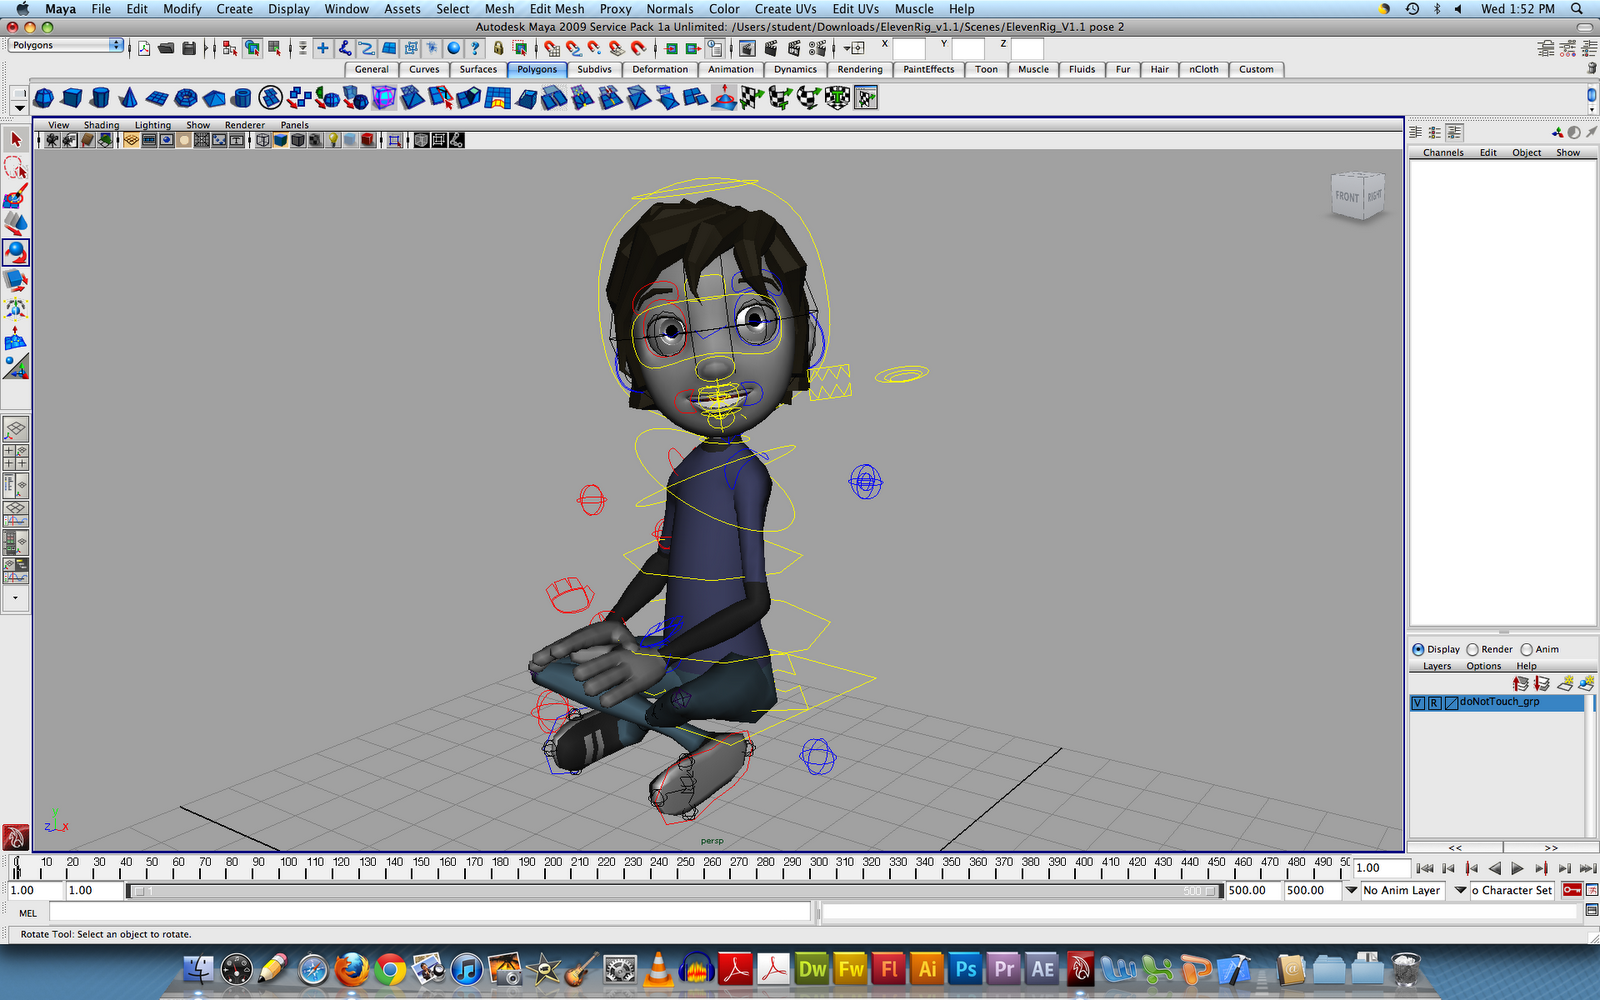
I will say the rig is not perfect. I encountered  few problems. The foot control could not rotate. It only could move in the move tool. Rotating will only rotate the foot control, not the foot itself. Same problem with the hands; could not rotate it, just move it. The elbow and the knee controls work fine. The hip control does not work as well. It can't move or rotate. It's just there for show.

This is not a good rig; it is my rig. So creating poses from my rig is not easy. Here are some which I tried to fit.


Monday, January 23, 2012

Rigging Exercise (literally)

Last week was me doing the rigging poses. Now I actually have to construct a rig from start.

Here are some lessons.


I have to rotate the arms (above) towards me to fit the rigging criteria.


I twisted the hand like so. See how all the vertices have been awkwardly rotated. 


I then selected the faces and deleted them.


Once I deleted the faces, I press for vertices and move the arm closer to the hand. I click on the merge vertices to merge the arm to the hand.


This is how I straightened out the arms.

By following the video tutorials so far, I can pretty much do what the guy does on the video. Making a skeleton on a body is easy because it's just connecting joints on the body. The problem is that you must know how many joints are there. For example, the body. There is the neck, the collar and the spinal cord. I also have to know the names of these to put them in the correct order in the hypergraph so that they can be grouped properly.

When new joints are created, all their rotational axis are in disarray. I guess when rotating the body, some joints would rotate elsewhere and that is why they must follow some specific directions.


Some errors occured like some joints would not orient themselves. The video tutorial showed "click on NONE in the orientation section" but 2012 does not have none. I fixed it by simple rotating it properly using the rotation tool.

Now I am completely stuck with this part. PART 5.

http://www.swinburne.edu.au/design/tutorials/maya/rigging-biped-advanced-maya-tutorial/P5/

There is 1 part where the person shows the centre pivot is at 0, 0 when he clicked the joint locations. So he said "press insert key and it will snap to the joint". It's not working for me thus far. I'm trying other methods. If you (I mean THE TEACHER) can read, how do you solve this?

Thursday, January 19, 2012

Playing with the ElevenRig

There were other works we had to do and it involved also looking at the human body and placing it as the image shows.

Here is the first:


Although I wonder who can create a perfect recreation of the picture, I think it looks almost exactly identical (except for the fingers which I just realized is able to move). Getting the legs to cross perfectly also took time because the adjustments and the proportion of the leg and knee had to move more drastically.


Here are the ones I adjusted (especially the fingers).


The one major thing I adjusted were the fingers. Given the picture, I could adjust the fingers properly to bend it. For fingers, there were 4 parts to it. The main finger and the three joints. I cannot just select all and rotate it. I must rotate each individual joint. It's time consuming but worth it. To make it more realistic, I added a card for the model to hold. Then I just adjusted the fingers accordingly.

Another thing I learned was the eyebrows. I could adjust to make the model to more life like. So far, I could only know how to do the confused look which is to drag the eyebrow downwards. Other than that, the eyebrows need not be adjusted I think.

The second


This one was not that difficult. Again, I will move the fingers so expect this blog to be updated soon. And again, I believe it looks almost identical. I guess the weirdest part about putting this together is the legs. If you look at the legs alone, it seems as though it was for a character that is facing BACKWARDS. The knee rig is a bit sensitive.

Here is the ones I adjusted:


I think it looks better than the one I did originally because I adjusted the fingers and formed a fist. I placed the fists at the hips and it almost looks like the original.

Another I learned is to always adjust the hip. It can never stay the same way as the body, even as it bends sideways.

And the Third


This one was tough. I could not actually see the boy's right hand properly so I had to imagine being in that position and figuring out what his right hand position would be. So I imagined it being like that of his left hand; getting ready to dribble the ball to and fro his left and right hand. I'm guessing my teacher will have somethings to say but first, I should do up the fingers and adjust properly (which will take up a lot of time).

Here are the adjusted ones:


The fingers were of course adjusted. They were spread out evenly so that it can grab the ball. The fingers cannot be too close together. A normal human could not hold a basketball with the fingers so close to one another.

I adjusted the eyes a bit to make him actually look at the ball. This way, it won't look like he is looking at something further away.

Wednesday, January 18, 2012

More Spider man poses and Character design

So here are more spider man poses I did.

In my previous post, I made an error about the leg. I solved it and now it looks like this:


As you can see, the legs are more spread out than last time. Apparently, I learned something new which was the the Knee PV. If I pressed1 for Knee PV, there will be a button for the knee so that I can move it without the leg "joining" each other.

Other than this, I have 2 more poses to showcase.


I learned again the that there is a limit to human proportions. It is also about experimenting with your own body. I did that with last pose. I pictured myself doing the wall climbing and I actually went into position to feel where the proper human parts were supposed to be. If I were to climb a wall using my fingers, my shoulders would be bent a bit forward and towards the wall. I also just referred to the images for reference and it helped with the placement of the body.

Sunday, January 15, 2012

Spider Man posing


As part of my exercises, I shall show you my upside down pose of spider man; the famous pose when he hangs upside down from his web.


This is my version of the pose. Since I cannot move the individual fingers to form the grappling shape on the web, his straight hands will have to suffice. It's easy yet hard to do this pose.

Firstly the pose of spider man starts off like this:

So a lot of rotation is required to change the shape and position of his hands, head, torso, shoulder and feet. To place the features into the upside down position is also easy to do but the human body can only stretch and bend so much.


It is hard as this next image will explain.

When I tried to move the left feet to join the right, the knee does not bend, instead the knee moves in another direction and "merges" with the right knee. I tried to combine the 2 feet so that it joins nicely but it seems it does not work. This proves the limitation of the human body. We want it to stretch this way but sometimes the human anatomy won't allow us.

There is also the issue of how much can we actually bend or stretch. When I moved the shoulders to make that both arms are near each other, I don't really know how much I should rotate or move the shoulder. Should I move it lower and rotate it closer to the body?


I could also stretch the body by moving it up or down but how much should I stretch? Hmmmm . . .. thoughts to ponder.