Exercise 1
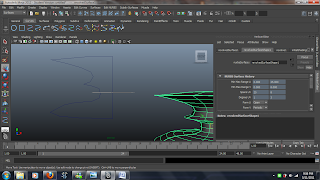
So this week I had to create a track. So the first step is to simply draw and outline of the front view of the track.
Now, instead of revolving it like the vase, the tutorial said to extrude it a bit on the z-axis. So I did.
Once extruded, I set the Translate z to 45 to make it so that it makes multiple copies of the above shape. Pivot x, y and z were all set to 0.
After this, it is to create some kind of way to connect the other tracks. It is to extrude the bottom two surfaces and extend it out.
But there is room for improvement to make it look better.
The extruded part looks better with a bevel of 0.5 that was done to the sides. Now to make a proper race track, with Bends!
The race track is now done.
I am exposed more and more to maya's software and am still unsure of most of it. This week, I used more of extrusion, the difference between surfaces and polygons (since I can't click on face or vertex) and the edge loop tool.
There is one thing I was not sure of during the tutorial. The last few steps right at the end.
- On the main menus, choose Window > Outliner.
- In the Outliner, select bend1Handle.
- Hold down the MMB and drag bend1Handle over Track_Profile1.
What is MMB? Some instructions are still unclear but I had fun creating this track.
Exercise 2
The next exercise is to create a very old washboard used to wash clothes.
First, create a rectangle with 17 subdivisions to create the glass of the washboard. After that, I clicked edge to bevel the 17 edges out. It had to be done twice.
Then, I learned of the new tool. Modify > Align tool. It became very useful as we want it to be perfect to fit the shape. I fitted the top stringers and bottom stringers.
Next is to create the legs. Again, the align tool became very useful here.
Finally. the washboard is done.
I learned the usefulness of the ALIGN tool as it perfectly aligns the shapes together. I used to use the move tool to move it where I want but the align tool is better.
The last few instructions is still confusing to me. What is MMB?


